I wanted to spread some love and share my top 3 Valentine’s treats before Valentine’s Day so if you were searching for something to make, you’d have some options to choose from. It depends on how much time you have and if you have dietary restrictions. These three desserts are different in shapes, sizes and tastes, so I hope you find at least one you like. Happy love day to all!
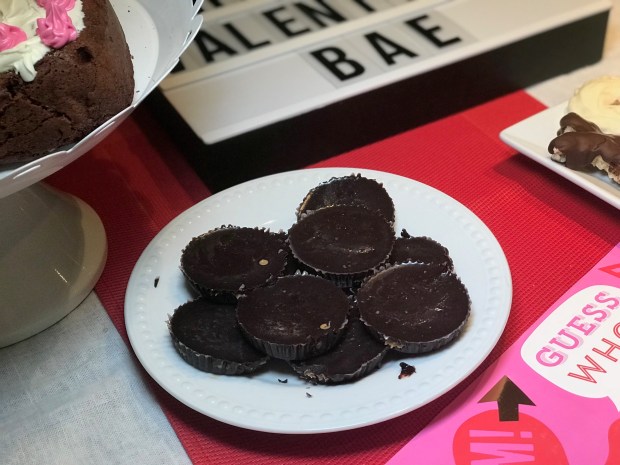
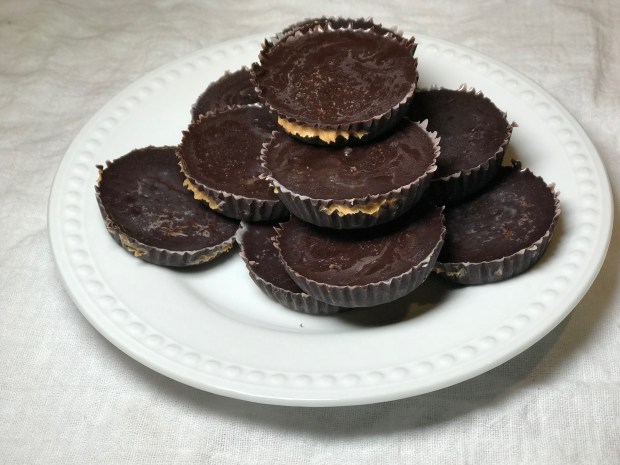
Peanut Butter Cups
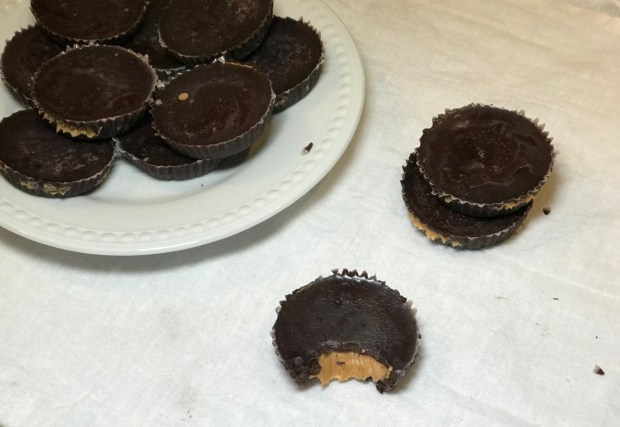
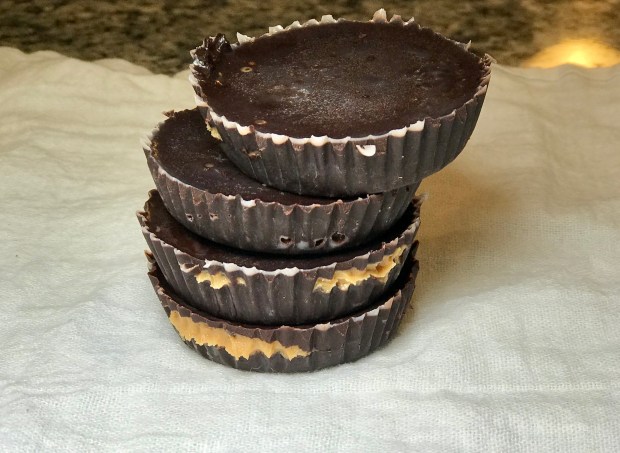
I LOVE this dessert recipe! Why? It’s easy, the ingredients are generally healthy, and the desserts are bite-size. Also, because they are no-bake, they require no flour and are therefore, gluten-free (and dairy-free)! The cups can also be filled with almond butter, hazelnut butter or natural peanut butter- whatever suits your fancy. Speaking of fancy, these really do look quite spectacular for how easy the steps are. I love having these to pack in lunches leading up to Valentine’s or for a post-dinner mini dessert before Valentine’s. These are also amazing when you have kids! They will love these as a dessert and you can have the satisfaction of knowing they are the ‘healthier’ version of the Reese’s cups.
If I’m being brutally honest, these may be a little more delicious in their guilty form (using regular melted baking chocolate). When using cocoa powder, things tend to turn out a little more bitter than sweet and milky. So, if you’re not making these for the satisfaction of a ‘healthier’ version (you’re just following a recipe like I did!), do yourself a favour and make it with melted chocolate rather than the cocoa powder.


Makes: 12 cups
Ingredients: 3/4 cup melted coconut oil, 1/2 cup cocoa powder (more or less to taste), 2-4 tbsp natural sweetener (I used maple syrup, but you can also use agave) (more or less to taste), a pinch of salt (sea salt or pink salt) (in the mixture and overtop of the cups).
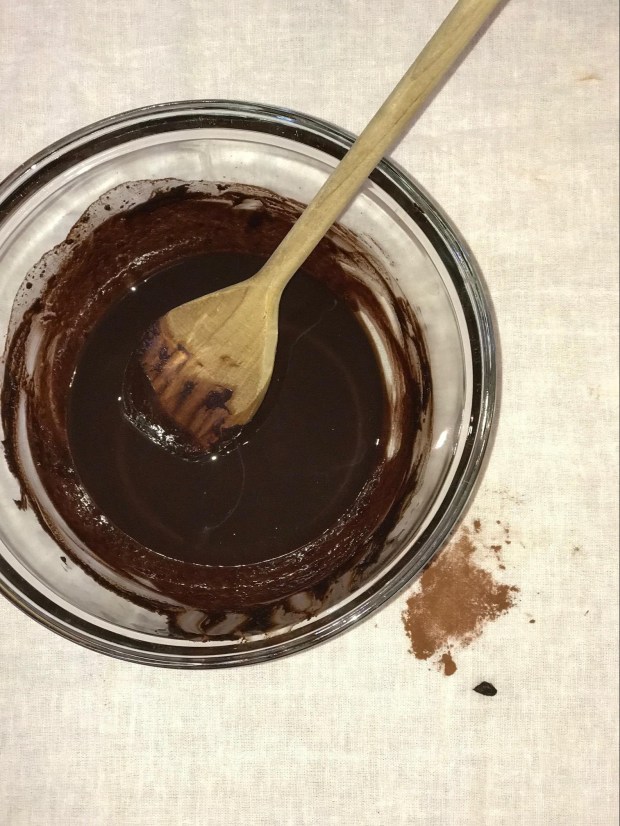
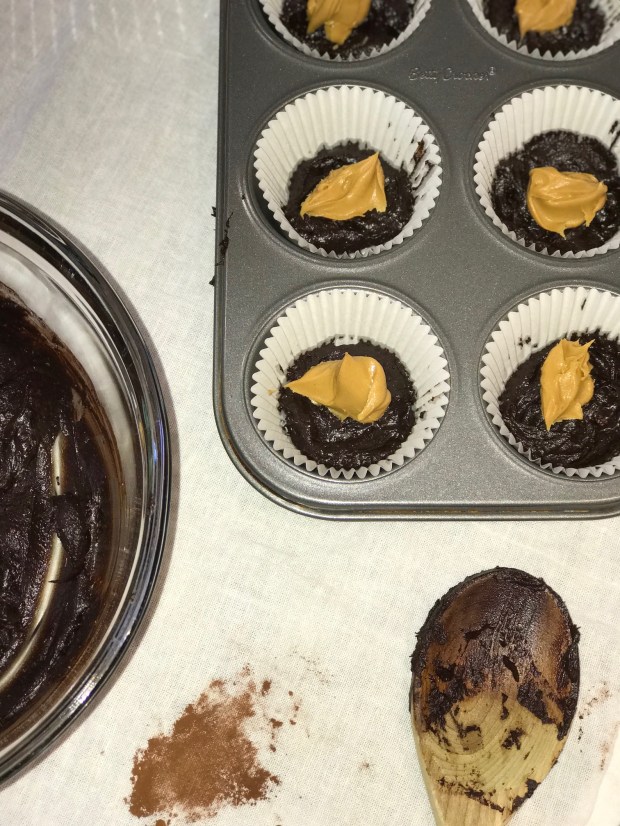
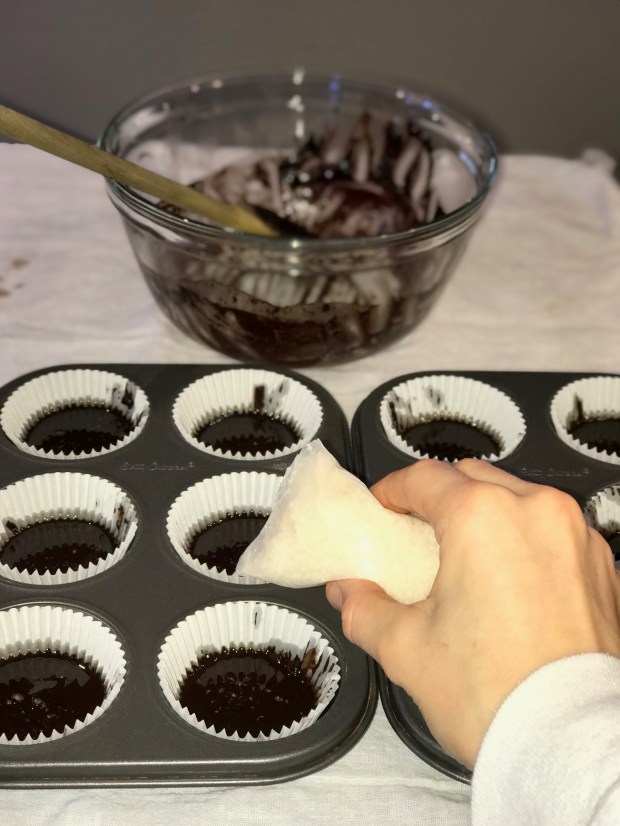
Instructions: place 12 muffin cups (regular size) in respective tins (you may have a 12 cup tin or 2 x 6 cup tins). Mix together the melted coconut oil, maple syrup (or agave), cacao powder, and salt. Pour 1-2 tsp into each cup to fill the base. Place a dollop (approx. 1 tsp) of peanut butter (or almond or hazelnut) in the middle of each base. Pour another 1-2 tsp of the chocolatey mixture over the peanut butter to bury it. Top the cup with sea salt (I used pink salt). Freeze for 1 hour. Remove peanut butter cups from muffin cups.
*BEFORE YOU MAKE THESE: I ran into a small problem as you can see from the photos above. The chocolatey mixture was not as runny as the video showed on ‘Pinch of Yum’, so I ended up having to add more melted coconut oil to make for easier pouring. To help myself even more, I placed the cups in the oven at 350 degrees for 4 minutes to simply melt the chocolatey mixture base and peanut butter to combine everything better. I then topped the cups with the new liquid mixture. I also made a little extra in the end because it didn’t quite fill the 12th cup. So, if you need more mixture, be prepared to make a quick little dose of it to fill the last couple cups. Otherwise, you could always end up with 11 cups or 10 cups and the last 1-2 are immediate desserts to treat yourself for making these!


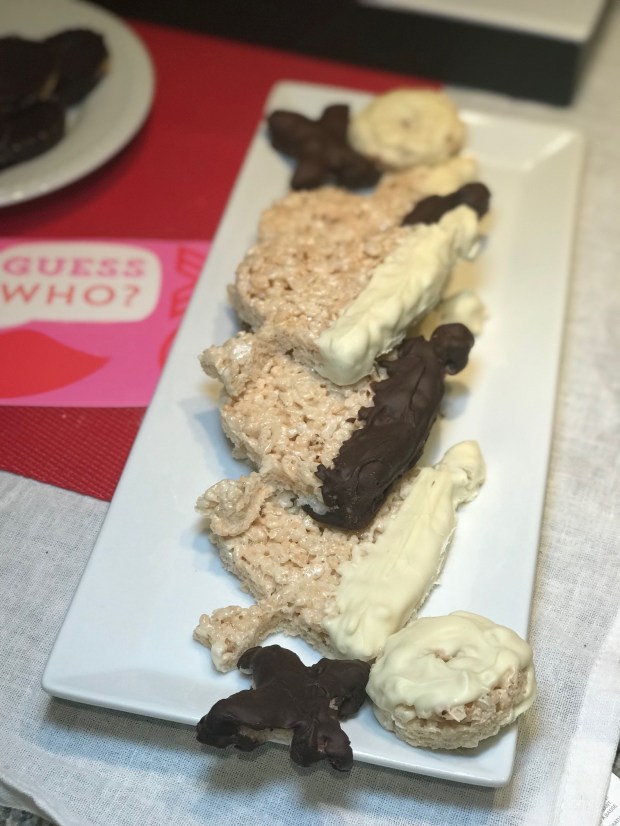
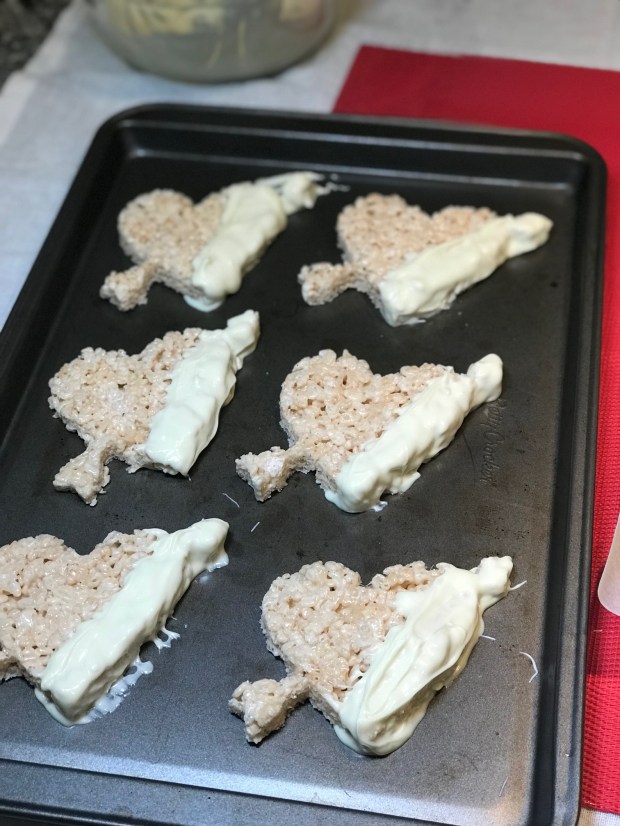
Heart-Shaped Chocolate Dipped Rice Krispie Bars
Okay, okay, they don’t HAVE to be heart-shaped, but it’s Valentine’s Day and I already had the heart-shaped cookie cutters from a previous year. From when I was a kid, my favourite treat was always rice crispy squares. Not the pre-packaged crap, the real homemade kind! If mom made these, it was a very good day. In fact, for my birthday, I always preferred rice crispy squares rather than a cake of any sort. So, I figured I’d throw some of these into the mix for love day to make everyone happy (mostly me, though). My boyfriend loves white chocolate, so the added touch was dipping these in both white and milk chocolate.
Similar to the previous dessert, these are also gluten-free! Rice Krispies are made with rice (as indicated by the name) and therefore make an easy ingredient for any gluten-free treat. These can be dairy-free as well if needed, but in this case, I’m going to use butter and milk chocolate.
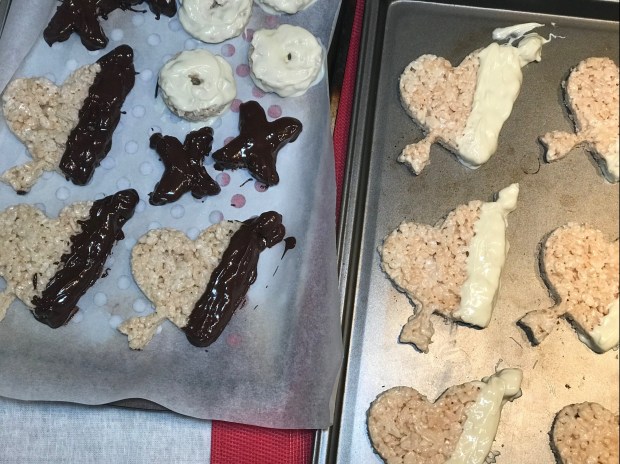
Makes: 18 squares (or in my case: 9 hearts, 4 X’s and 4 O’s with excess)
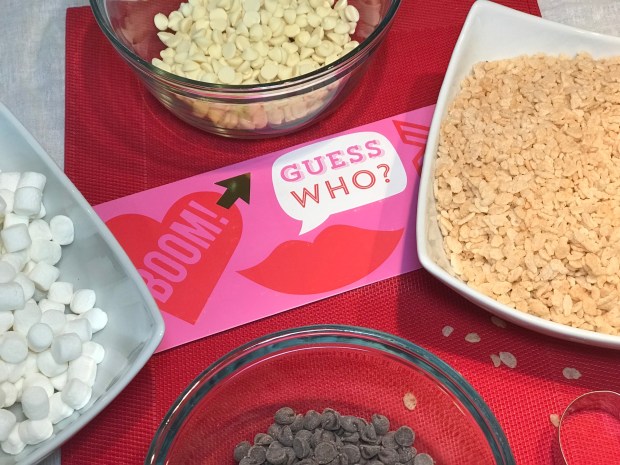
Ingredients: 1/4 cup butter, 4 cups mini marshmallows, 5 cups crisp rice cereal (I used Rice Krispies), 1 cup milk chocolate chips, 1 cup white chocolate chips.
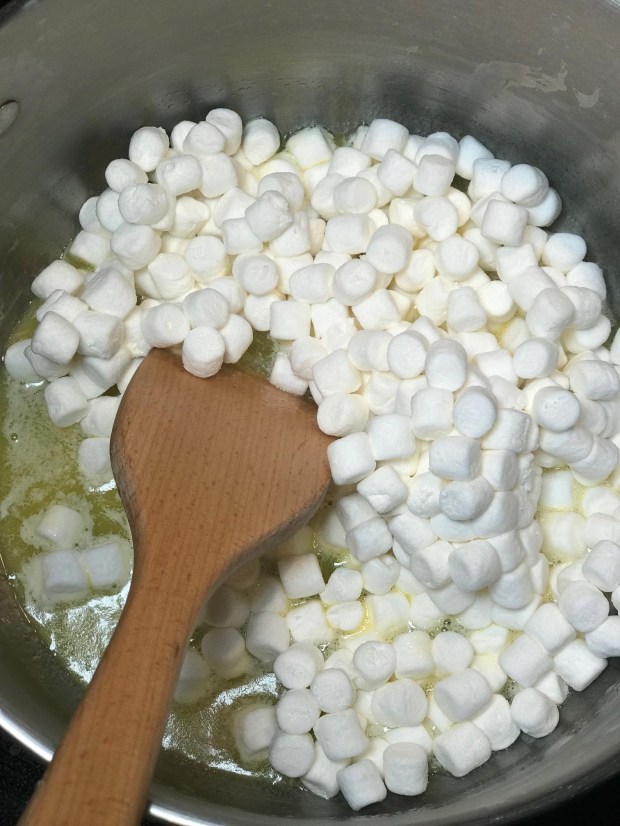
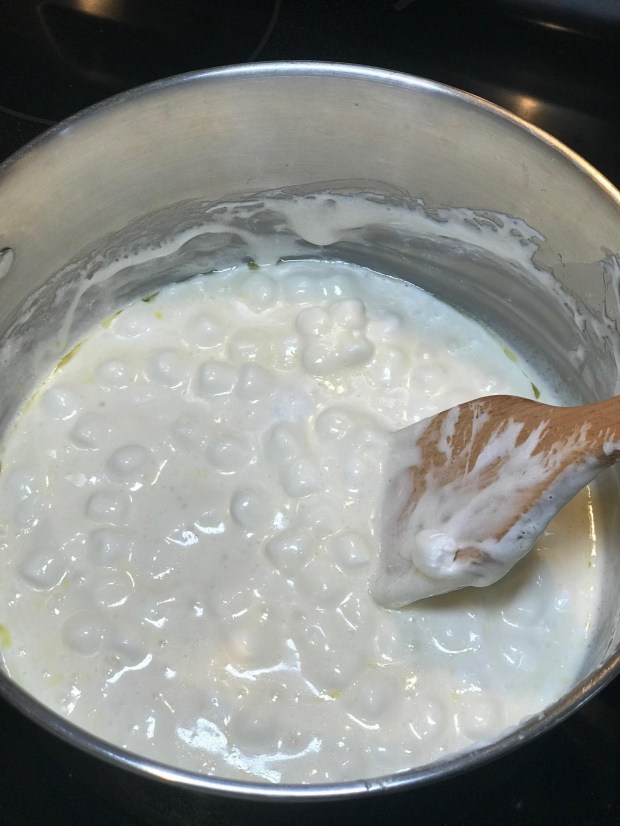
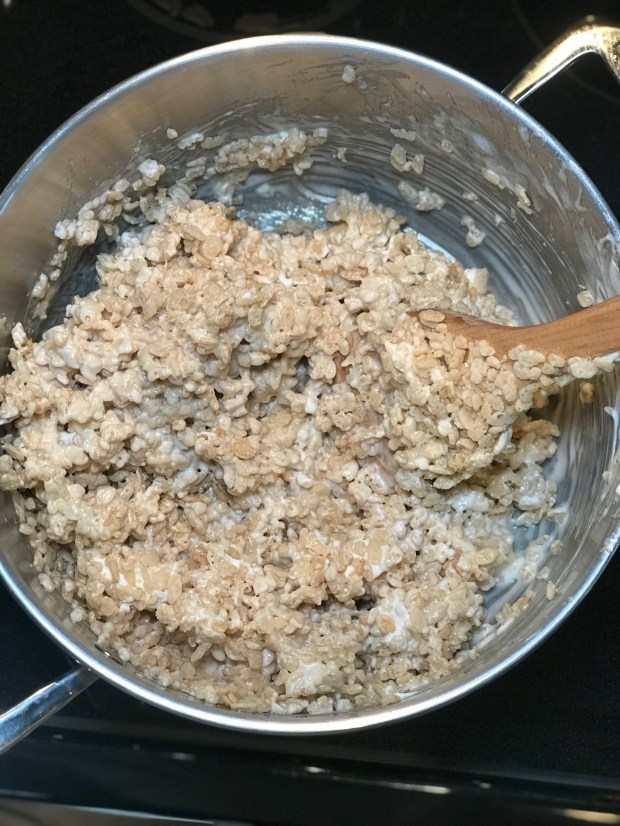
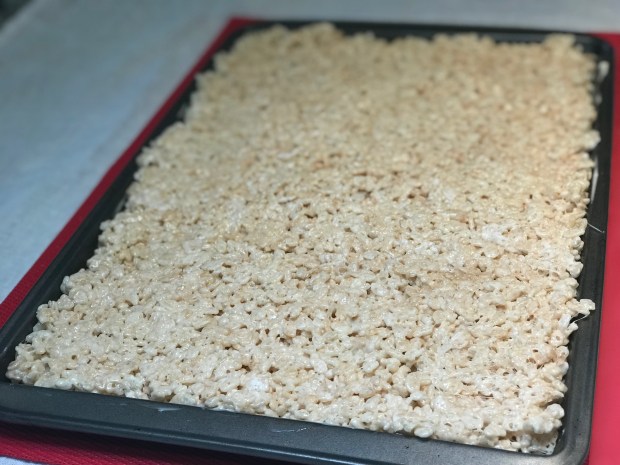
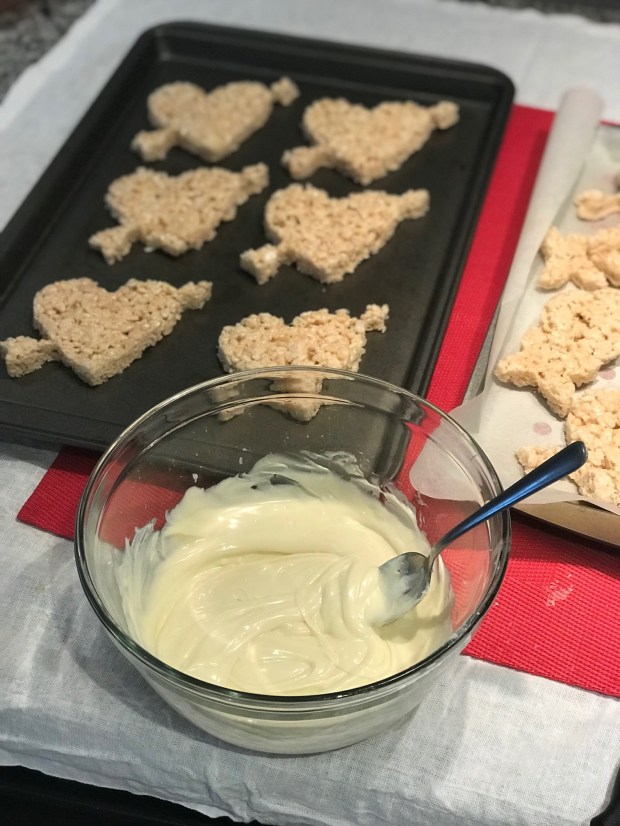
Instructions: melt butter in a large pot over low heat (I use a pot to make it easier to stir everything in). Add the marshmallows, stirring constantly until well-blended. Continue stirring constantly for 2 minutes, then remove from heat. Add the rice cereal and stir until well coated in the marshmallows. Using a buttered spatula, press the mixture evenly on a 13 x 9 inch pan. Once cooled, you can cut them into 2 x 2 inch squares or use a cookie cutter for a different shape (I used a heart shape). In a small bowl, melt chocolate chips in the microwave at 20 second intervals stirring each time until chocolate is completely melted. If chocolate seems gloopy, add about 1 teaspoon of vegetable shortening until it becomes runny (or coconut oil). Dip the squares in the chocolate, shaking off excess chocolate. I used two separate bowls (1 with melted white chocolate and one with melted milk chocolate). Serve once chocolate has cooled and hardened. Or place treat in the fridge for chocolate to harden, then serve once room temperature again.

Since I used cookie cutters for these squares, I actually had some excess of the dessert afterwards. I chose to do some smaller shapes with the X’s and O’s cookie cutters, and then some balls. It’s up to you if you prefer to throw it away, or snack on it right there and then (I totally did that as well). Be mindful that certain shapes (if you use cookie cutters) are delicate once pressed in. I had to make sure the arrow parts of the heart were stuck on to the ends.


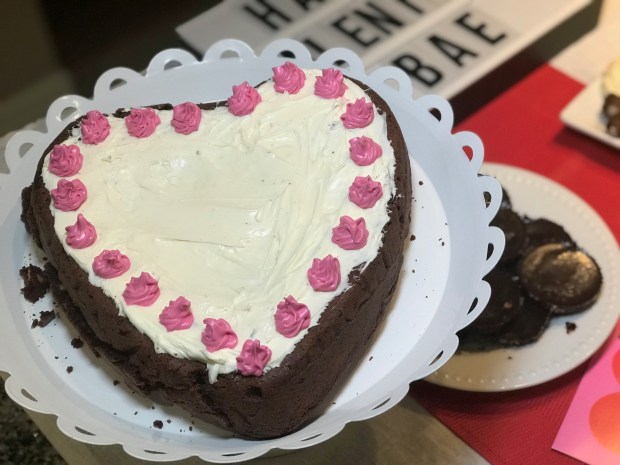
Gluten-Free Red Velvet Cookie Cake With Cream Cheese Frosting
This cookie cake is quite scrumptious! It reminds me of an episode on some cartoon show I watched as a kid where they split a giant heart-shaped cookie. I think it was from a Minnie Mouse show or maybe a book. Either way, I thought it was cute and who doesn’t love comically large cookies?
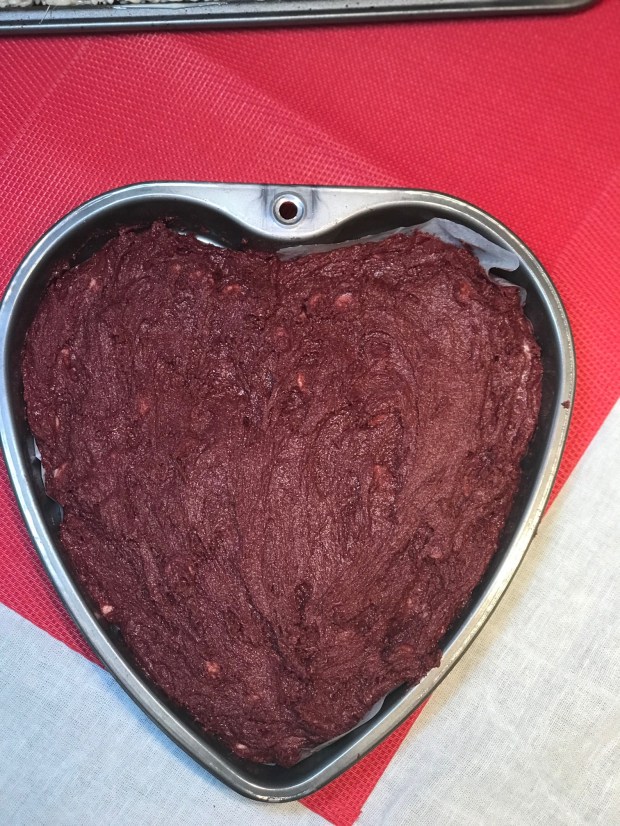
I’d be lying if I said this recipe went according to plan and according to the perfect photo from the Pinterest recipe. I’d be lying if I said it didn’t bother me. This was supposed to be my trifecta of yummy desserts, and the last one had to be salvaged with some cream cheese icing. What you don’t see under the giant mess of icing is a huge crack through the cookie/cake. I keep calling it a cookie/cake because it should’ve been much thinner (in a larger, non heart-shaped pan. With its thickness and shape, I’m calling it a cookie/cake. The batter was meant to be spread thinly and evenly over a larger surface. So, I learnt from this one: even though it was a cute idea to do it in a heart-shape, stick to the damn recipe. As much as I occasionally like to bake, I sure love cooking more. It’s less of a science that can’t be messed with and more of a science experiment with different flavours. Baking is strict- stick to the recipe or see all of your expensive ingredients and hard work head straight for the garbage. Okay, I’m being dramatic, but I was seriously frustrated at my lack of judgement (no matter how many times I bake).


I chose to bake this one gluten-free so I could enjoy all three desserts. Who says you have to suffer with gluten-filled goods on the biggest baking day of the year? But, the recipe does technically call for regular flour. So, if you are not gluten-free, just use your regular flour.
The one thing I did notice, other than the massive crack through the cookie/cake, was the lack of colour. I put the exact amount of red food colouring into the mixture that the recipe called for, yet it came out looking like a typical chocolate cake. My assumption is that it may have something to do with the gluten-free flour and it’s ability to dye as easily as all-purpose flour. The other issue could have been the lack of thinness. Maybe if I had a recipe for a red velvet cake, it would take a little more food colouring. Whatever the root of the problem was, it isn’t going to change the outcome: it’s still a yummy dessert and we’re still eating it!
I’m also going to be brutally honest and say I ran out of time, so I bought the cream cheese icing pre-made. However, I have attached the recipe for the icing if you’d like to make it yourself.
Servings: 8 slices
Ingredients for the red velvet cookie: 1 and 3/4 cup all-purpose flour , spooned & levelled, 1/4 cup natural cocoa powder, 2 tsp cornstarch, 1/2 tsp baking soda, 1/4 tsp salt, 3/4 cup unsalted butter , softened to room temperature, 3/4 cup granulated sugar, 1/2 cup packed brown sugar (light or dark), 1 large egg , 1 large egg yolk, 2 tsp vanilla extract, 1 and 1/2 tablespoons red food colouring, 2 tsp distilled vinegar, 1 cup white chocolate chips
Ingredients for the cream cheese icing: 1/4 cup unsalted butter (softened to room temperature), 2 oz brick-style cream cheese (softened to room temperature), 1 and 1/2 cups powdered sugar, 1/4 tsp salt, 1-2 tsp cream or milk (optional)
Instructions for the red velvet cookie: preheat the oven to 350 degrees. Line the bottom of a 9 inch cake pan with parchment paper, and grease the edges. A spring form pan for this recipe is ideal. In a large bowl sift together the flour, cocoa, cornstarch, baking soda and salt. Set aside. Then in a separate large bowl using a stand or hand-held electric mixer on medium speed, beat together the butter and sugars until light and fluffy and no sugar lumps remain (about 2 minutes). Then add in the egg, additional egg yolk, vanilla, red food colouring and vinegar and mix until smooth (30 seconds to 1 minute). Turn down the mixer to low speed and carefully beat in the flour mixture about 1/3 at a time. You may need to turn off the mixer and scrape down the sides of the bowl as necessary. Finally, turn off the mixer and stir in the white chocolate chips using a large wooden spoon or rubber spatula. The dough will be very sticky. Spoon the batter into your prepared pan and press it down to the edges. Bake for approximately 30 minutes or until the top is set and you can see the edges just starting to pull away from the sides of the pan (you may need to bake this for longer if your oven tends to be less hot).
Instructions for cream cheese icing: in a medium sized bowl using an electric mixer on medium speed, beat together the butter and cream cheese until softened and evenly mixed together (about 2-3 minutes). Then turn down the mixer to low speed and slowly beat in the powdered sugar followed by the salt. Once combined, if the mixture is too thick, add in a little cream or milk, or if it’s too thin add in an extra 1/4 cup powdered sugar. Once the cake is fully cooled, pipe the frosting around the edges. I spread the icing across the cake and then in a separate bowl, mixed the same cream cheese icing with red food colouring (until it made a pink colour), placed it in a piping bag with a tip and made small designs around the outside of the cake. *You may need to make more icing if you are spreading it over the cake as well.


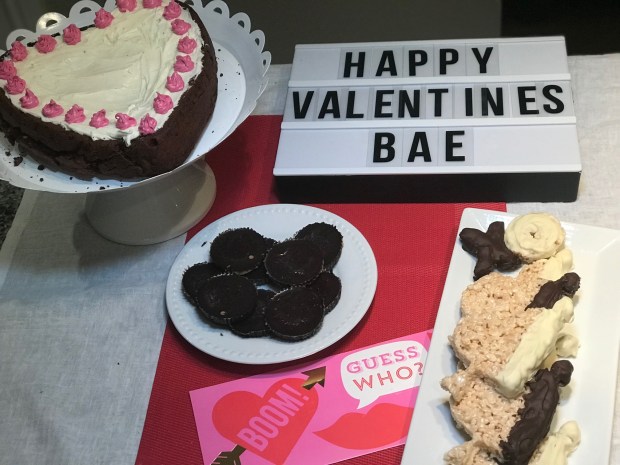
So there you have it loves: my top three desserts for Valentine’s Day! If you don’t have plans for dessert yet (maybe you’re planning on rushing to the grocery store first thing tomorrow when your significant other leaves for work), try one of these easy recipes. You don’t have to go overboard like I did and make three, but if you need just one easy recipe, these are all great options!
Happy Love ‘Bae’ to all my loves!